How to Mail a Package: Step-by-Step Guide
Discover a comprehensive step-by-step guide on how to mail a package efficiently. From packing tips to choosing the right postage, make your package sending experience hassle-free.
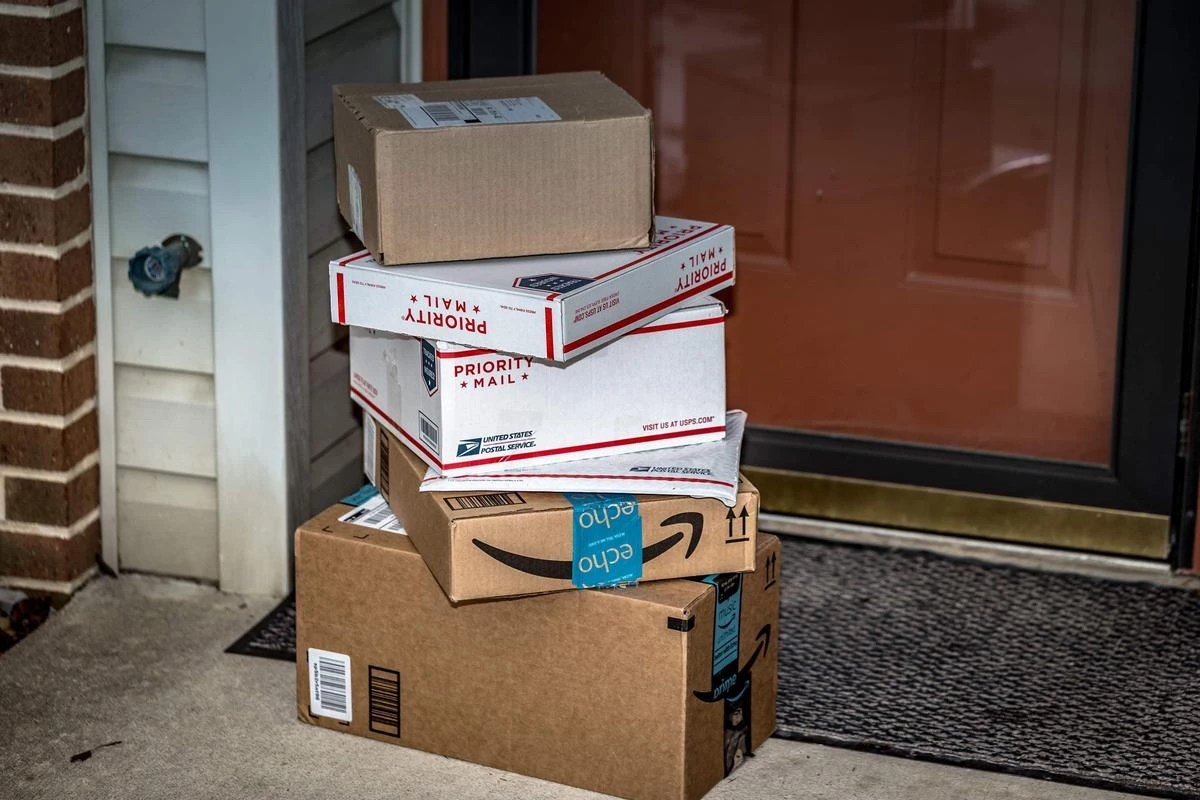
Mailing packages is a common task that many of us encounter, whether it’s sending a gift to a loved one or shipping merchandise for an online business.
However, if you’re new to the process or want to ensure that your packages are sent correctly, a step-by-step guide can be really helpful.
Here is a comprehensive, easy-to-follow guide on how to mail a package. From gathering the necessary materials to properly packaging and labeling your shipment, this guide walks you through each stage of the mailing process.
Also, it provides important considerations such as choosing the right shipping service, understanding weight and size restrictions, and exploring available delivery options.
READ ALSO!!!
- Cheapest Overnight Shipping Options
- How to Ship Fragile Items with UPS
- UPS & FedEx Collect on Delivery
- Ups Customs Charges
How to Mail a Package
Sending a package involves several key steps to ensure your parcel arrives safely and on time. Follow this step-by-step guide to navigate the process seamlessly.
Step 1: Gathering Supplies
Before you begin, make sure you have all the necessary supplies:
1. Sturdy box or envelope
2. Packaging tape
3. Bubble wrap or packing peanuts
4. Shipping label
5. Pen for addressing
6. Scale (for accurate postage)
Step 2: Packaging Your Item
When it comes to shipping, protecting your item against potential damage during transit is a top priority. Bubble wrap and packing peanuts are your best friends in this endeavor.
These cushioning materials create a protective barrier around your contents, absorbing shocks and preventing breakage. Wrapping your item is simple:
1. Wrap Each Item Individually: For fragile items or those prone to scratching, wrapping each piece individually ensures they won’t come into direct contact with each other.
2. Use Bubble Wrap: Bubble wrap provides excellent cushioning due to its air-filled pockets. Wrap your item thoroughly to ensure complete coverage.
3. Packing Peanuts: For items that fit snugly inside a box, packing peanuts can help fill any remaining gaps, providing extra protection.
Remember, a well-wrapped item is the first step toward safe shipping.
Step 3: Select the Right Box
Choosing the appropriate box is crucial for maintaining the structural integrity of your package. Follow these guidelines:
1. Box Size Matters
When selecting a box, opt for one that is just the right size for your item. A box that’s too large might lead to shifting during shipping, increasing the risk of damage.
On the other hand, a box that’s too small could cause the contents to be cramped and vulnerable to damage. Aim for a snug fit that provides enough space for proper padding.
2. Sturdy Material
The material of the box matters significantly. Choose a box made of sturdy material, preferably corrugated cardboard.
Corrugated cardboard offers an excellent balance of strength and durability, providing a protective barrier against external pressures. This is especially important for fragile items that need extra care during transit.
3. Weight Consideration
Consider the weight of your item before selecting a box. If your item is heavy, opt for a box that can handle the weight without compromising its structural integrity.
Choosing a box that’s designed to handle the weight ensures that it won’t give in to pressure during transit, reducing the risk of damage.
Step 4: Seal Carefully
When it comes to mailing a package, the first and most crucial step is to seal it carefully.
A securely sealed package not only prevents its contents from getting damaged but also safeguards against accidental opening during transit. Here’s how to do it right:
1. Secure All Seams
Before sending your package on its journey, make sure all seams of the box are properly sealed using reliable packaging tape.
This simple step can prevent your package from accidentally opening, protecting the contents inside. Whether it’s a fragile item or important documents, ensuring all seams are sealed will give you peace of mind.
2. Tape Quality Matters
Investing in high-quality packaging tape is an investment in the safety of your package. Strong adhesion is key to keeping the package sealed throughout its journey.
High-quality tape prevents any accidental tearing, providing an extra layer of protection to your shipment. Don’t compromise on tape quality; it’s worth the peace of mind it brings.
Step 5: Addressing
Properly addressing your package is the foundation of a successful shipment. Here’s what you need to know:
1. Clear and Legible Writing
Using a permanent marker or pen, write both the recipient’s address and your return address. Make sure the writing is clear and easy to read.
This step might seem obvious, but legibility is often overlooked. If the address is smudged or illegible, it could lead to confusion and delays in delivery.
2. Accuracy is Key
Take a moment to double-check the address for accuracy. Even a minor mistake, such as a wrong house number or ZIP code, can result in significant delays or non-delivery.
Don’t rush this step; a few extra moments spent verifying the address can save you a lot of hassle down the line.
Step 6: Include Packing Slip
Adding a packing slip to your package provides valuable information for both you and the recipient:
1. Recipient’s Details: Include the recipient’s name, address, and contact information. This ensures seamless delivery.
2. Contents Overview: List the items included in the package on the packing slip. This helps the recipient verify the contents and ensures nothing is missing.
Step 7: Weighing and Measuring
1. Weigh Your Package: Use a scale to weigh your package accurately. This information is crucial for calculating postage.
2. Measure Dimensions: Measure the length, width, and height of the package. This is important for determining shipping costs.
Step 8: Choosing the Right Postage
1. Visit the Post Office: Head to your local post office or visit their website to explore postage options.
2. Consider Speed and Tracking: Choose a shipping option based on your budget and the desired delivery speed. Opt for tracking to monitor the package’s progress.
3. Calculate Postage: Provide the package’s weight and dimensions to the postal staff or use their online tools to calculate postage costs.
READ ALSO!!!
- UPS Shipping Calculator
- What is UPS Ground?
- Does Ups Deliver on Sundays?
- UPS Shipping Restrictions and Prohibited Items
Step 9: Addressing and Labeling
1. Fill Out the Label: Complete the shipping label with accurate recipient information. Include your return address as well.
2. Attach the Label: Securely attach the label to the package using clear packaging tape. Make sure it’s visible and flat.
Step 10: Dropping Off Your Package
1. Timing Matters: Check the post office’s pickup times or drop-off box schedule to ensure your package ships on time.
2. Drop-off Locations: If dropping off at a post office isn’t convenient, explore nearby drop-off locations, such as postal kiosks or third-party shipping centers.
Conclusion
Mailing a package doesn’t have to be a stressful endeavor. By following this step-by-step guide, you can ensure that your package arrives safely and on time.
Remember to gather the necessary supplies, package your item securely, choose the right postage, and drop off your package at a convenient location.
With these insights and tips, you’ll navigate the mailing process with confidence. Happy mailing!