How to Create a Shipping Label
How to create a shipping label is very important because shipping labels play a crucial role in the world of logistics and e-commerce. Whether you’re a small business owner shipping products to customers or an individual sending a package to a friend, creating a shipping label is an essential step in ensuring smooth and efficient delivery. As you read through, we will show you how to go about it.
How to Create a Shipping Label
In other create a shipping label, let’s first enlighten you on what a shipping label is.
Shipping labels serve as the primary means of identification and communication between the sender, the carrier, and the recipient.
They provide vital information about the package, ensuring that it reaches its intended destination efficiently and without any issues.
Before diving into the process of creating a shipping label, it’s important to understand its components and the key information it should contain.
A shipping label typically includes the following components:
1. Sender Information
This section includes the name, address, and contact details of the person or company sending the package.
It is essential to provide accurate and complete sender information to avoid any confusion or delivery delays.
READ ALSO!!!
- How to Send a Package UPS | A Guide to Effectively Use UPS
- UPS for Small Business | Understanding How UPS Store Works
- Understanding UPS Shipping Zone | An Easy Guide
- What is Ups Mychoice and How Does it Work?
2. Recipient Information
This section includes the name, address, and contact details of the person or company receiving the package.
Double-checking the recipient’s information is crucial to ensure the package reaches the correct destination.
3. Carrier Information
This section usually includes the carrier’s logo, name, and any specific instructions or requirements they may have.
It is important to follow the carrier’s guidelines to ensure compliance and smooth processing of the shipment.
4. Tracking Number
The tracking number is a unique identifier assigned by the carrier to track the package’s journey from the sender to the recipient.
Including the tracking number on the shipping label allows both the sender and recipient to monitor the package’s progress.
5. Barcodes
Barcodes are machine-readable representations of the tracking number. They help automate the sorting and processing of packages, making it easier for carriers to handle large volumes of shipments.
6. Shipment Details
This section includes specific information about the package, such as its weight, dimensions, declared value, and any special handling instructions.
Providing accurate and detailed information helps carriers determine the appropriate shipping method and ensure proper handling.
How to Prepare the Necessary Information for Shipping Label
Before creating a shipping label, it’s important to gather and prepare all the necessary information.
Having the required details readily available will streamline the label-creation process and ensure accuracy.
Here are the key steps to prepare the information for creating a shipping label:
1. Sender’s Information
Collect your complete and accurate contact information, including your name, address, phone number, and email address.
Make sure to use the correct format and include any necessary unit numbers or additional details.
2. Recipient’s Information
Gather the recipient’s full name, and complete address, including any unit or apartment numbers, city, state, ZIP code, and contact details (phone number, email address).
Double-check the recipient’s information to avoid any delivery errors or delays.
3. Shipment Details
Take note of the package’s weight, dimensions (length, width, height), and the number of packages if you are shipping multiple items.
It’s essential to provide accurate measurements to determine the appropriate shipping costs and ensure proper handling.
4. Special Instructions or Requirements
If your shipment has any specific handling instructions, such as fragile items or particular delivery instructions, make sure to note them down.
This information helps carriers handle the package carefully and ensures it reaches the recipient as intended.
5. Value and Insurance
If your package has a significant value, consider indicating the declared value and whether you want to purchase additional insurance coverage for it.
This step is particularly important for valuable or fragile items to ensure proper compensation in case of loss or damage during transit.
6. Shipping Carrier or Platform Requirements
Different shipping carriers or platforms may have specific requirements or forms that need to be completed alongside the shipping label.
Familiarize yourself with any additional information or documentation needed, such as customs forms for international shipments.
Choosing the Right Shipping Label Format
Choosing the right shipping label format is essential to ensure compatibility with your shipping carrier or platform and to streamline the label creation process.
There are several options available, each with its own benefits and considerations.
Here are some popular shipping label formats to consider:
1. PDF Labels
Many shipping carriers and online platforms provide downloadable PDF label templates. These templates can be filled out electronically using software like Adobe Acrobat or even online editing tools.
PDF labels offer flexibility and ease of use, allowing you to customize the label layout and easily print multiple labels on standard paper or adhesive label sheets.
2. Online Shipping Platforms
Shipping platforms such as USPS, UPS, FedEx, and DHL often offer their own online interfaces for creating and printing shipping labels.
These platforms provide intuitive label creation tools that allow you to input the required information and generate the label directly from their website. The labels can then be printed on standard paper or adhesive labels.
3. Shipping Software Integration
If you use shipping software or e-commerce platforms like Shopify, WooCommerce, or ShipStation, they often offer built-in integrations with popular shipping carriers.
These integrations enable you to generate shipping labels directly from the software, automatically populating the necessary information and streamlining the fulfillment process.
4. Thermal Label Printers
Thermal label printers are a popular choice for businesses with high shipping volumes. These printers use heat to print labels, eliminating the need for ink or toner.
They can quickly print high-quality, professional-looking shipping labels on specialized thermal label rolls.
Thermal printers are compatible with various label sizes and offer fast printing speeds, making them efficient for large-scale shipping operations.
When choosing the right shipping label format, consider the compatibility with your shipping carrier or platform, the volume of shipments you handle, and the level of customization and convenience you require.
It’s also important to ensure that the label format meets any specific requirements or regulations imposed by the carrier or customs authorities.
Creating a Shipping Label
Creating a shipping label is a straightforward process, especially when using popular online platforms or shipping software.
Here is a step-by-step guide to help you create a shipping label:
1. Choose Your Shipping Carrier or Platform
Select the shipping carrier or online platform that best suits your needs. Popular options include USPS, UPS, FedEx, DHL, or specific e-commerce platforms like Shopify or WooCommerce.
2. Login or Create an Account
If you haven’t already, create an account on the chosen shipping carrier’s website or the shipping software you’ll be using. Provide the necessary details to set up your account.
3. Enter Shipment Details
Start the label creation process by entering the required shipment details. This typically includes the sender’s and recipient’s information, package weight and dimensions, declared value, and any additional instructions or requirements.
4. Choose the Shipping Method
Select the appropriate shipping method that aligns with your desired delivery timeframe and budget. Consider factors such as speed, tracking options, and insurance coverage.
5. Generate the Label
Once all the information is entered correctly, you can generate the shipping label. Click on the appropriate button or link to generate the label based on the entered information.
6. Review and Verify
Take a moment to review the generated label for accuracy. Double-check the sender’s and recipient’s information, tracking number, barcodes, and any special instructions. Make any necessary edits or corrections.
7. Print the Label
After verifying the label’s accuracy, proceed to print it. Ensure you have a suitable printer connected and loaded with the appropriate label paper or adhesive labels.
Adjust print settings as needed to ensure legibility and clarity.
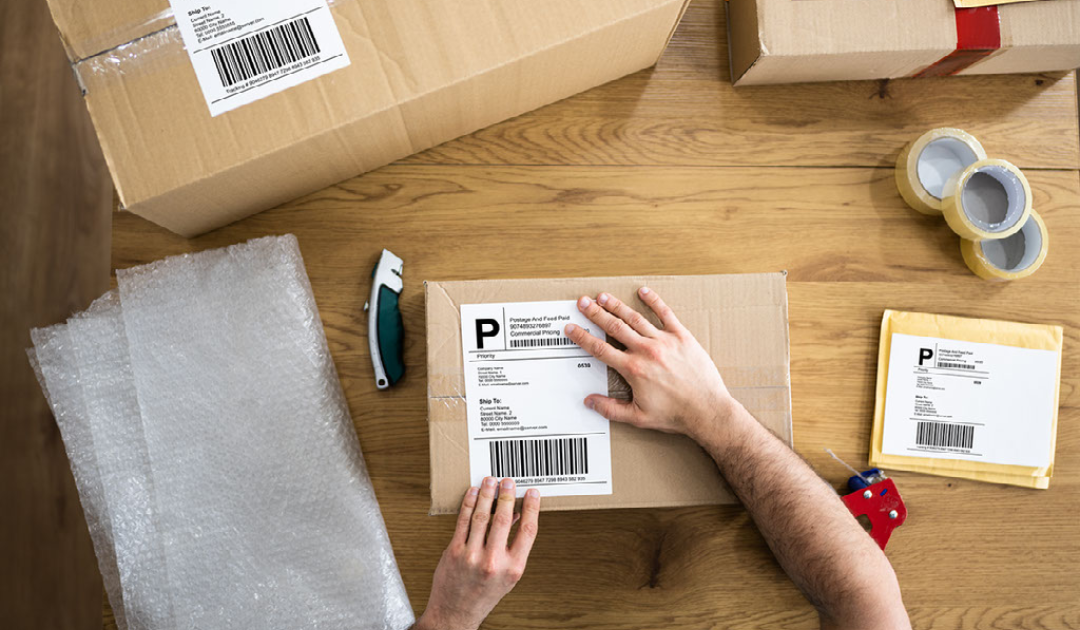
8. Attach the Label
Once printed, affix the shipping label securely to the package. Ensure it is placed in a visible and easily scannable location.
If using adhesive labels, remove any backing and firmly apply the label to the package’s surface.
9. Retain Tracking Information
Keep a record of the tracking number associated with the shipping label. This will allow you to monitor the package’s progress and address any issues that may arise during transit.
Remember, different shipping carriers or platforms may have slight variations in their label creation processes.
Always follow the specific instructions provided by your chosen carrier or software to ensure accurate label generation.
READ ALSO!!!
- UPS Worldwide Saver: What is It?
- UPS Ship Food: Can You Ship Frozen Food With Ups?
- How to Ship a Bike UPS: A Guide to Shipping Bike
- What is UPS Surepost and How Does It Work?
Printing and Attaching the Shipping Label

Printing and attaching the shipping label properly is crucial to ensure its legibility and readability throughout the shipping process. Here are the steps to print and attach the shipping label securely:
1. Ensure a Compatible Printer
Make sure you have a printer that is compatible with the label format you’re using. Check the label size requirements and ensure your printer can accommodate them. If using adhesive labels, ensure your printer can handle them without any issues.
2. Adjust Print Settings
Before printing the shipping label, adjust the print settings to ensure optimal quality. Select a high-resolution print mode and ensure that scaling or fit-to-page options are disabled. This helps maintain the label’s clarity and legibility.
3. Test Print
Perform a test print on regular paper to ensure the label’s alignment, size, and legibility. This allows you to make any necessary adjustments before printing on the actual label paper or adhesive labels.
4. Load Label Paper or Adhesive Labels
If using label paper, load the sheets into the printer’s paper tray according to the manufacturer’s instructions.
Ensure the labels are properly aligned and that no sheets are wrinkled or damaged.
If using adhesive labels, make sure they are compatible with your printer and properly loaded in the printer’s manual feed tray or designated slot.
5. Print the Shipping Label
Once you have confirmed the print settings and loaded the appropriate label paper, print the shipping label.
Select the specific page or label on your software or platform, and click the print button. Verify that the label prints clearly and all the information is visible.
6. Check Label Legibility
After printing, inspect the label to ensure that all text, barcodes, and graphics are clear and legible.
Double-check the sender’s and recipient’s information, tracking number, and any special instructions. If the label is illegible or contains errors, discard it and reprint a new one.
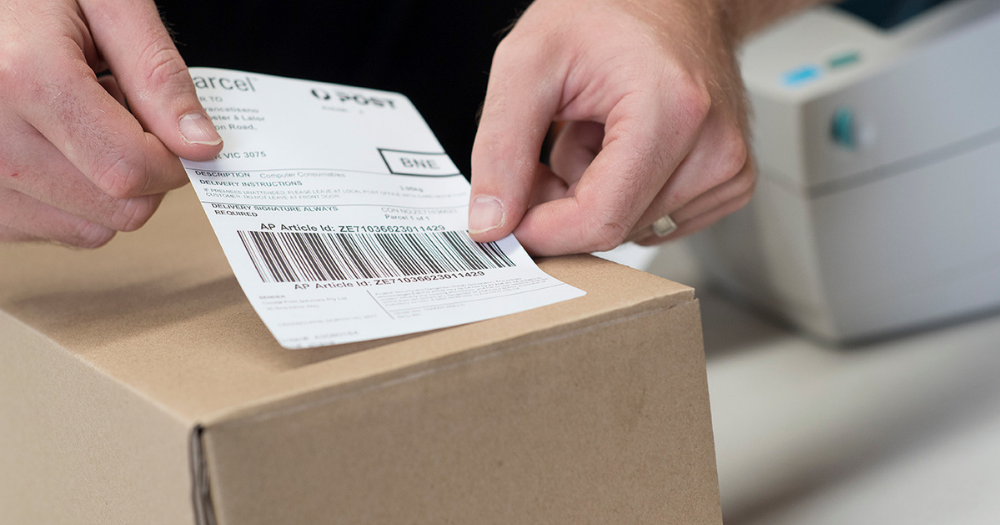
7. Attach the Label Securely
Once you have a properly printed label, affix it securely to the package. If using adhesive labels, peel off the backing and apply the label smoothly and firmly to a flat surface.
Ensure there are no wrinkles, folds, or air bubbles that could hinder barcode scanning or cause the label to come off during transit.
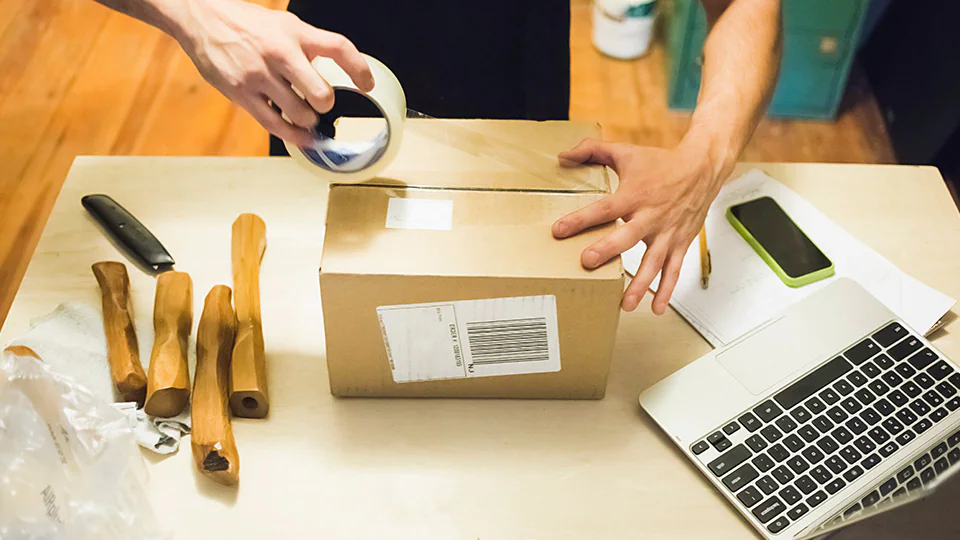
Using label paper, use clear packing tape or shipping label pouches to protect the label from moisture or damage.
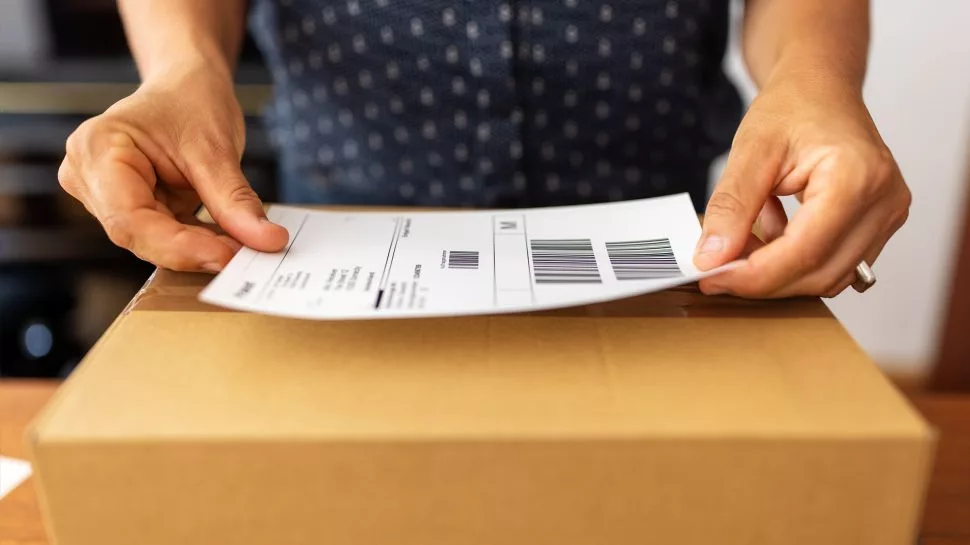
8. Avoid Covering Barcodes or Important Information
When attaching the label, ensure that no barcodes, tracking numbers, or crucial information is covered or obstructed.
This allows scanners and automated systems to read the label accurately throughout shipping.
Conclusion
Creating a shipping label is an essential step in ensuring the smooth and efficient delivery of packages.
By understanding the components and key information required on a shipping label, you can accurately communicate the necessary details to the shipping carrier and recipient.
Take advantage of the digital tools and resources available to simplify the label creation process and stay updated with any changes or advancements in shipping technology.
With the right approach, you’ll be able to create shipping labels effectively and contribute to a seamless shipping experience for both you and your customers.